Create an allow rule in a class
- Sign in to Classwize.
- Select the Class you want to add rules to.
- Select Rules to open the Class Rules menu. If there are existing rules for the class, they will show in the Class Rules list.
- Select Create Rule if your class has no existing rules, or + New Rule if there are existing rules. This will open the Add new rule window.
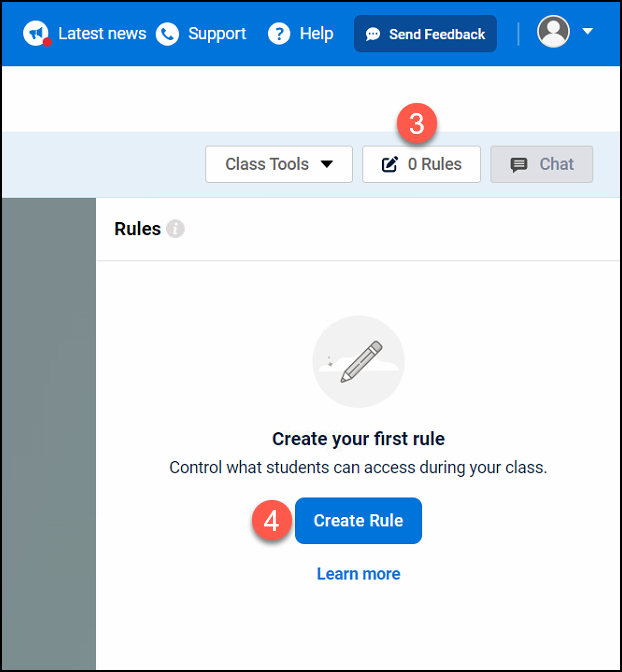
Image 1: Class Rules menu in Classwize.
-
- In the Add new rule window, type the website domain or the name of the Theme or Category you want to allow.
- Select Allowed.
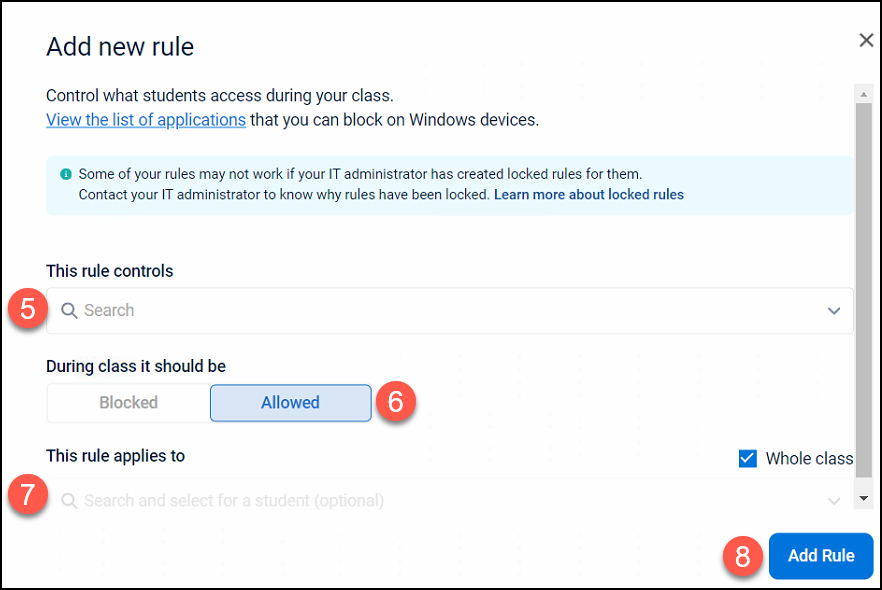
- If you want to select specific students, clear the Whole class checkbox and type to search for a student then select the student from the dropdown menu.
- Select Add rule.